1.Downloading a GitLab Package
All GitLab packages are posted to our package server and can be downloaded.
GitLab EE: for official Enterprise Edition releases
GitLab CE: for official Community Edition releases
Unstable: for release candidates and other unstable versions
Browse to the repository for the type of package you would like, in order to see the list of packages that are available. There are multiple packages for a single version, one for each supported distribution type. Next to the filename is a label indicating the distribution, as the file names may be the same.
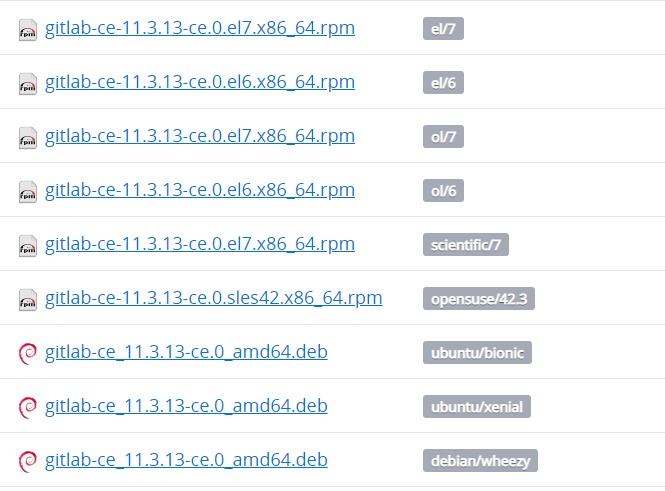
Locate the desired package for the version and distribution you want to use, and click on the filename to download.
2.Installing the GitLab Package
With the desired package downloaded, use your systems package management tool to install it. For example:
- DEB based (Ubuntu, Debian, Raspberry Pi):
sudo EXTERNAL_URL=”http://gitlab.example.com” dpkg -i gitlab-ce_11.3.13-ce.0_amd64.deb
- RPM based (CentOS, RHEL, Oracle, Scientific, openSUSE, SLES):
sudo EXTERNAL_URL=”http://gitlab.example.com” rpm -i gitlab-ce-11.3.13-ce.0.el7.x86_64.rpm
Change http://gitlab.example.com to the URL at which you want to access your GitLab instance. Installation will automatically configure and start GitLab at that URL.
Note: Enabling HTTPS will require additional configuration to specify the certificates.
3.Browse to the hostname and login
On your first visit, you’ll be redirected to a password reset screen. Provide the password for the initial administrator account and you will be redirected back to the login screen. Use the default account’s username root to login.