环境版本:
CentOS Linux release 7.6.1810 (Core)
mongodb-linux-x86_64-rhel70-3.4.21.tgz
安装步骤:
The basic procedure is to start the mongod instances that will become members of the replica set, configure the replica set itself, and then add the mongod instances to it.
Before you can deploy a replica set, you must install MongoDB on each system that will be part of your replica set.
1、在每台机器上下载解压mongodb安装包
curl -O https://fastdl.mongodb.org/linux/mongodb-linux-x86_64-rhel70-3.4.21.tgz
tar -zxvf mongodb-linux-x86_64-rhel70-3.4.21.tgz
mv mongodb-linux-x86_64-rhel70-3.4.21/ /usr/local/mongodb
2、在每台机器上创建mongodb的data、log以及配置目录
cd /usr/local/mongodb
mkdir -p data/db
mkdir log
touch log/mongod.log
mkdir etc
touch etc/mongod.conf
3、在每台机器上配置config文件
vi etc/mongod.conf
为了启动方便,可以将mongodb的启动配置项直接设置在配置文件中:
dbpath = /usr/local/mongodb/data/db # 指定数据库路径
logpath = /usr/local/mongodb/log/mongod.log # 指定mongodb日志文件
logappend = true # 使用追加的方式写日志
port = 27017 #设置端口号为27017
fork = true #设置以守护进程的方式启动mongod
replSet = testxhrs #设置副本集的名字为testxhrs,同一副本集群的replSet名称必须相同。
4、分别在每台机器上启动mongodb
cd /usr/local/mongodb
./bin/mongod -f ./etc/mongod.conf #指定以mongod.conf配置启动mongod
5、初始化副本集
IMPORTANT:Run rs.initiate() on just one and only one mongod instance for the replica set.
登录任意一台机器的mongodb后台管理shell:
cd /usr/local/mongodb
./bin/mongo
use admin
rs.initiate( {
_id : “testxhrs”,
members: [
{ _id: 0, host: “192.168.191.147:27017” },
{ _id: 1, host: “192.168.191.148:27017” },
{ _id: 2, host: “192.168.191.149:27017” }
]
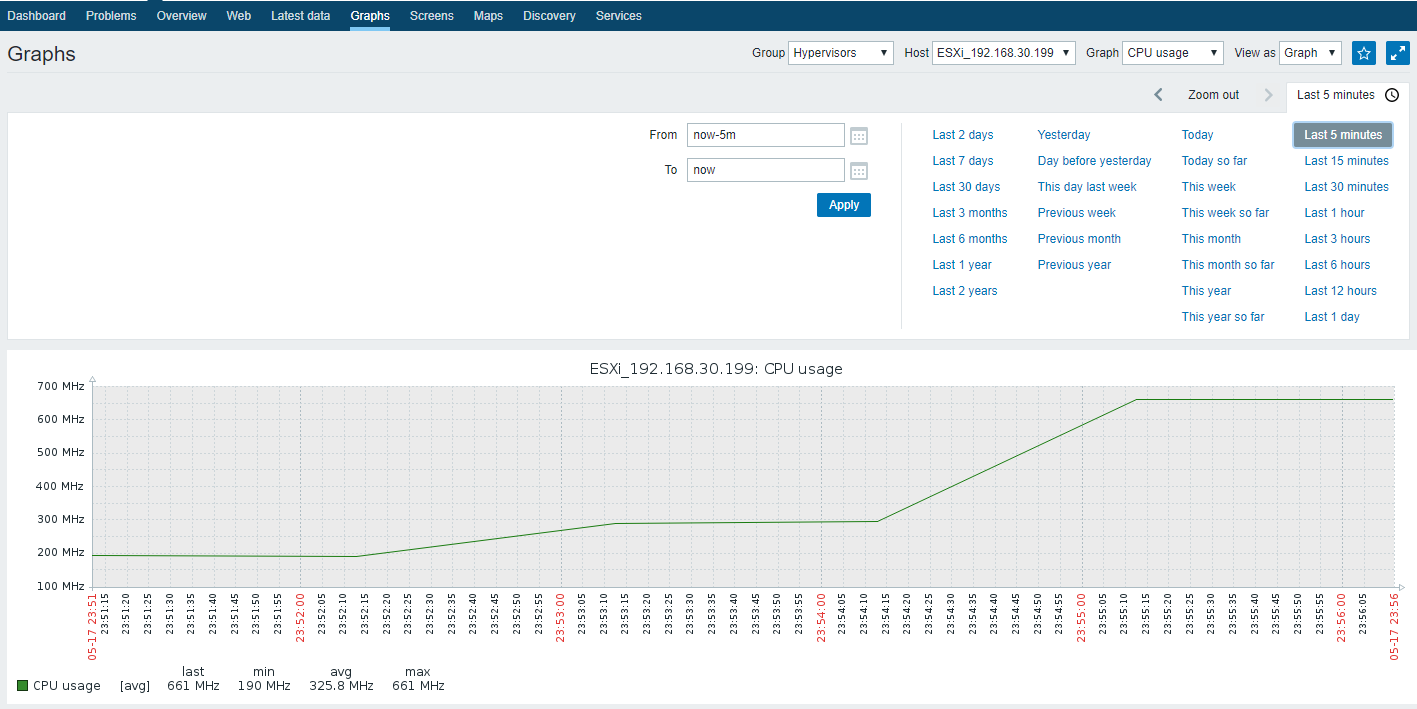
}) #初始化配置
_图片1.png)
注意:如果执行初始化报错,检查三台服务器的防火墙27017端口是否开放。
通过rs.conf()查看副本集配置:
testxhrs:PRIMARY> rs.conf()
{
“_id” : “testxhrs”,
“version” : 1,
“protocolVersion” : NumberLong(1),
“members” : [
{
“_id” : 0,
“host” : “192.168.191.147:27017”,
“arbiterOnly” : false,
“buildIndexes” : true,
“hidden” : false,
“priority” : 1,
“tags” : {
},
“slaveDelay” : NumberLong(0),
“votes” : 1
},
{
“_id” : 1,
“host” : “192.168.191.148:27017”,
“arbiterOnly” : false,
“buildIndexes” : true,
“hidden” : false,
“priority” : 1,
“tags” : {
},
“slaveDelay” : NumberLong(0),
“votes” : 1
},
{
“_id” : 2,
“host” : “192.168.191.149:27017”,
“arbiterOnly” : false,
“buildIndexes” : true,
“hidden” : false,
“priority” : 1,
“tags” : {
},
“slaveDelay” : NumberLong(0),
“votes” : 1
}
],
“settings” : {
“chainingAllowed” : true,
“heartbeatIntervalMillis” : 2000,
“heartbeatTimeoutSecs” : 10,
“electionTimeoutMillis” : 10000,
“catchUpTimeoutMillis” : 60000,
“getLastErrorModes” : {
},
“getLastErrorDefaults” : {
“w” : 1,
“wtimeout” : 0
},
“replicaSetId” : ObjectId(“5d0afcba1d434d32a01ea25f”)
}
}
testxhrs:PRIMARY>
通过rs.status()查看确认副本集主节点:
testxhrs:PRIMARY> rs.status()
{
“set” : “testxhrs”,
“date” : ISODate(“2019-06-20T03:36:28.575Z”),
“myState” : 1,
“term” : NumberLong(1),
“syncingTo” : “”,
“syncSourceHost” : “”,
“syncSourceId” : -1,
“heartbeatIntervalMillis” : NumberLong(2000),
“optimes” : {
“lastCommittedOpTime” : {
“ts” : Timestamp(1561001778, 1),
“t” : NumberLong(1)
},
“appliedOpTime” : {
“ts” : Timestamp(1561001778, 1),
“t” : NumberLong(1)
},
“durableOpTime” : {
“ts” : Timestamp(1561001778, 1),
“t” : NumberLong(1)
}
},
“members” : [
{
“_id” : 0,
“name” : “192.168.191.147:27017”,
“health” : 1,
“state” : 1,
“stateStr” : “PRIMARY”,
“uptime” : 1438,
“optime” : {
“ts” : Timestamp(1561001778, 1),
“t” : NumberLong(1)
},
“optimeDate” : ISODate(“2019-06-20T03:36:18Z”),
“syncingTo” : “”,
“syncSourceHost” : “”,
“syncSourceId” : -1,
“infoMessage” : “”,
“electionTime” : Timestamp(1561001157, 1),
“electionDate” : ISODate(“2019-06-20T03:25:57Z”),
“configVersion” : 1,
“self” : true,
“lastHeartbeatMessage” : “”
},
{
“_id” : 1,
“name” : “192.168.191.148:27017”,
“health” : 1,
“state” : 2,
“stateStr” : “SECONDARY”,
“uptime” : 642,
“optime” : {
“ts” : Timestamp(1561001778, 1),
“t” : NumberLong(1)
},
“optimeDurable” : {
“ts” : Timestamp(1561001778, 1),
“t” : NumberLong(1)
},
“optimeDate” : ISODate(“2019-06-20T03:36:18Z”),
“optimeDurableDate” : ISODate(“2019-06-20T03:36:18Z”),
“lastHeartbeat” : ISODate(“2019-06-20T03:36:28.211Z”),
“lastHeartbeatRecv” : ISODate(“2019-06-20T03:36:28.257Z”),
“pingMs” : NumberLong(0),
“lastHeartbeatMessage” : “”,
“syncingTo” : “192.168.191.147:27017”,
“syncSourceHost” : “192.168.191.147:27017”,
“syncSourceId” : 0,
“infoMessage” : “”,
“configVersion” : 1
},
{
“_id” : 2,
“name” : “192.168.191.149:27017”,
“health” : 1,
“state” : 2,
“stateStr” : “SECONDARY”,
“uptime” : 642,
“optime” : {
“ts” : Timestamp(1561001778, 1),
“t” : NumberLong(1)
},
“optimeDurable” : {
“ts” : Timestamp(1561001778, 1),
“t” : NumberLong(1)
},
“optimeDate” : ISODate(“2019-06-20T03:36:18Z”),
“optimeDurableDate” : ISODate(“2019-06-20T03:36:18Z”),
“lastHeartbeat” : ISODate(“2019-06-20T03:36:28.211Z”),
“lastHeartbeatRecv” : ISODate(“2019-06-20T03:36:28.248Z”),
“pingMs” : NumberLong(0),
“lastHeartbeatMessage” : “”,
“syncingTo” : “192.168.191.147:27017”,
“syncSourceHost” : “192.168.191.147:27017”,
“syncSourceId” : 0,
“infoMessage” : “”,
“configVersion” : 1
}
],
“ok” : 1
}
testxhrs:PRIMARY>
6、创建账号(在主节点上操作):
# ./bin/mongo
> use admin
# 创建用户管理员(可管理用户、权限)
> db.createUser({user: “admin”,pwd: “p@ssw0rd4admin”,roles: [ { role: “userAdminAnyDatabase”, db: “admin” } ]})
# 创建数据库管理员(可管理数据库)
在MongoDB shell中切换到数据库admin,再使用createUser添加角色为readWriteAnyDatabase、dbAdminAnyDatabase和clusterAdmin的用户。这让用户能够访问系统中的所有数据库、创建新的数据库以及管理 MongoDB 集群。
> use admin
switched to db admin
> db.createUser(
… {
… user: “dbadmin”,
… pwd: “p@ssw0rd4dbadmin”,
… roles: [ “readWriteAnyDatabase”, “dbAdminAnyDatabase”,”clusterAdmin” ]
… }
… )
Successfully added user: {
“user” : “dbadmin”,
“roles” : [
“readWriteAnyDatabase”,
“dbAdminAnyDatabase”,
“clusterAdmin”
]
}
# 创建超级管理员(可管理用户、权限、数据库)
> db.createUser({“user”:”SuperAdmin”,”pwd”:”p@ssw0rd4SA”,”roles”:[“root”]});
# 创建集群管理员
> db.createUser({“user” : “cluster”,”pwd” : “p@ssw0rd4cluster”,roles: [ { “role” : “clusterAdmin”, “db” : “admin” } ]})
#创建普通用户
> use db1;
> db.createUser({user:”user1″,pwd:”p@ssw0rd4user1″,roles:[{role:”dbOwner”,db:”db1″}]})
7、启用keyfile+auth访问控制
生成keyfile文件, 设置权限为400, 并拷贝到每个副本集成员:
注:Copy the keyfile to each server hosting the replica set members. Ensure that the user running the mongod instances is the owner of the file and can access the keyfile.
cd /usr/local/mongodb
mkdir conf
openssl rand -base64 756 -out conf/keyfile
chmod 400 conf/keyfile
在每个副本集成员上修改配置文件:
keyFile = /usr/local/mongodb/conf/keyfile
auth = true
重新启动各个节点(先关SECONDARY,后关PRIMARY):
./bin/mongod -f ./etc/mongod.conf –shutdown
./bin/mongod -f ./etc/mongod.conf
8、测试副本集的数据复制功能
在主节点测试写入:
testxhrs:PRIMARY> use db1
switched to db db1
testxhrs:PRIMARY> db.auth(‘user1′,’p@ssw0rd4user1’)
1
testxhrs:PRIMARY> db.t_user.insert({“user”: “mongodb”})
WriteResult({ “nInserted” : 1 })
testxhrs:PRIMARY> db.t_user.find();
{ “_id” : ObjectId(“5d08acb0372140acd6e68525”), “user” : “mongodb” }
testxhrs:PRIMARY>
在secondary节点测试查询是否有数据同步:
testxhrs:SECONDARY> use db1
switched to db db1
testxhrs:SECONDARY> db.auth(‘user1′,’p@ssw0rd4user1’)
1
testxhrs:SECONDARY> db.t_user.find()
Error: error: {
“ok” : 0,
“errmsg” : “not master and slaveOk=false”,
“code” : 13435,
“codeName” : “NotMasterNoSlaveOk”
}
testxhrs:SECONDARY> rs.slaveOk() #默认情况下secondary是不可以读写的,需要执行rs.slaveOk()才可以执行查看命令
注:因为mongodb默认是从主节点读写数据的,副本节点上不允许读,需要设置副本节点可以读。
testxhrs:SECONDARY> db.getMongo().setSlaveOk();
此时就可以读取数据了。
testxhrs:SECONDARY> db.t_user.find()
控制台输出:{ “_id” : ObjectId(“5d08acb0372140acd6e68525”), “user” : “mongodb” }
可以看出数据复制的功能是可用的。
9、测试副本集的故障转移功能
将主节点192.168.191.147的mongod进程杀死:
testxhrs:PRIMARY> use admin
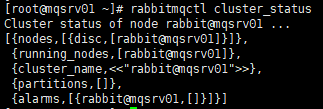
testxhrs:PRIMARY> db.shutdownServer()
通过rs.status()来查看副本集状态,此时可以看到,192.168.191.149原本是副节点,现在自动转换为主节点。
_图片2.png)
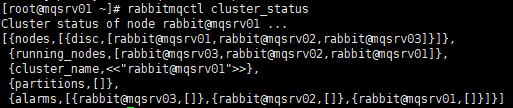
10、客户端工具连接测试
_图片3.png)
附:
1.查看所有账户 :
> use admin
switched to db admin
> db.auth(‘admin’,’password’)
1
> db.system.users.find().pretty()
2.查看当前库下账户 :
> use admin
switched to db admin
> show users
> use test
switched to db test
> show users
3.修改用户密码:
The following operation changes the password of the user named accountUser in the products database to SOh3TbYhx8ypJPxmt1oOfL:
use products
db.changeUserPassword(“accountUser”, “SOh3TbYhx8ypJPxmt1oOfL”)
4.修改用户权限等:
Example
Given a user appClient01 in the products database with the following user info:
{
“_id” : “products.appClient01”,
“user” : “appClient01”,
“db” : “products”,
“customData” : { “empID” : “12345”, “badge” : “9156” },
“roles” : [
{ “role” : “readWrite”,
“db” : “products”
},
{ “role” : “read”,
“db” : “inventory”
}
]
}
The following db.updateUser() method completely replaces the user’s customData and roles data:
use products
db.updateUser( “appClient01”,
{
customData : { employeeId : “0x3039” },
roles : [
{ role : “read”, db : “assets” }
]
}
)
The user appClient01 in the products database now has the following user information:
{
“_id” : “products.appClient01”,
“user” : “appClient01”,
“db” : “products”,
“customData” : { “employeeId” : “0x3039” },
“roles” : [
{ “role” : “read”,
“db” : “assets”
}
]
}
5.分配用户更多权限:
Example
Given a user accountUser01 in the products database with the following roles:
“roles” : [
{ “role” : “assetsReader”,
“db” : “assets”
}
]
The following grantRolesToUser() operation gives accountUser01 the readWrite role on the products database and the read role on the stock database.
use products
db.grantRolesToUser(
“accountUser01”,
[ “readWrite” , { role: “read”, db: “stock” } ],
{ w: “majority” , wtimeout: 4000 }
)
The user accountUser01 in the products database now has the following roles:
“roles” : [
{ “role” : “assetsReader”,
“db” : “assets”
},
{ “role” : “read”,
“db” : “stock”
},
{ “role” : “readWrite”,
“db” : “products”
}
]
6.撤销用户相关权限:
Example
The accountUser01 user in the products database has the following roles:
“roles” : [
{ “role” : “assetsReader”,
“db” : “assets”
},
{ “role” : “read”,
“db” : “stock”
},
{ “role” : “readWrite”,
“db” : “products”
}
]
The following db.revokeRolesFromUser() method removes the two of the user’s roles: the read role on the stock database and the readWrite role on the products database, which is also the database on which the method runs:
use products
db.revokeRolesFromUser( “accountUser01”,
[ { role: “read”, db: “stock” }, “readWrite” ],
{ w: “majority” }
)
The user accountUser01 user in the products database now has only one remaining role:
“roles” : [
{ “role” : “assetsReader”,
“db” : “assets”
}
]